Complete guide to smart lighting installation and configuration
By Robbert / December 18, 2023
Installing a smart bulb is often a little more difficult than installing a traditional bulb. But don't worry. We explain to you step-by-step how to install and pair your new lamp. We also cover the most frequently asked questions involved in installation. Note! Installation differs per type of smart bulb.
For all smart bulbs, it is important to check which socket you need for your bulb. In most cases this will be an E27, but there are exceptions. In this blog, we explain in detail how to install and operate your smart bulb.
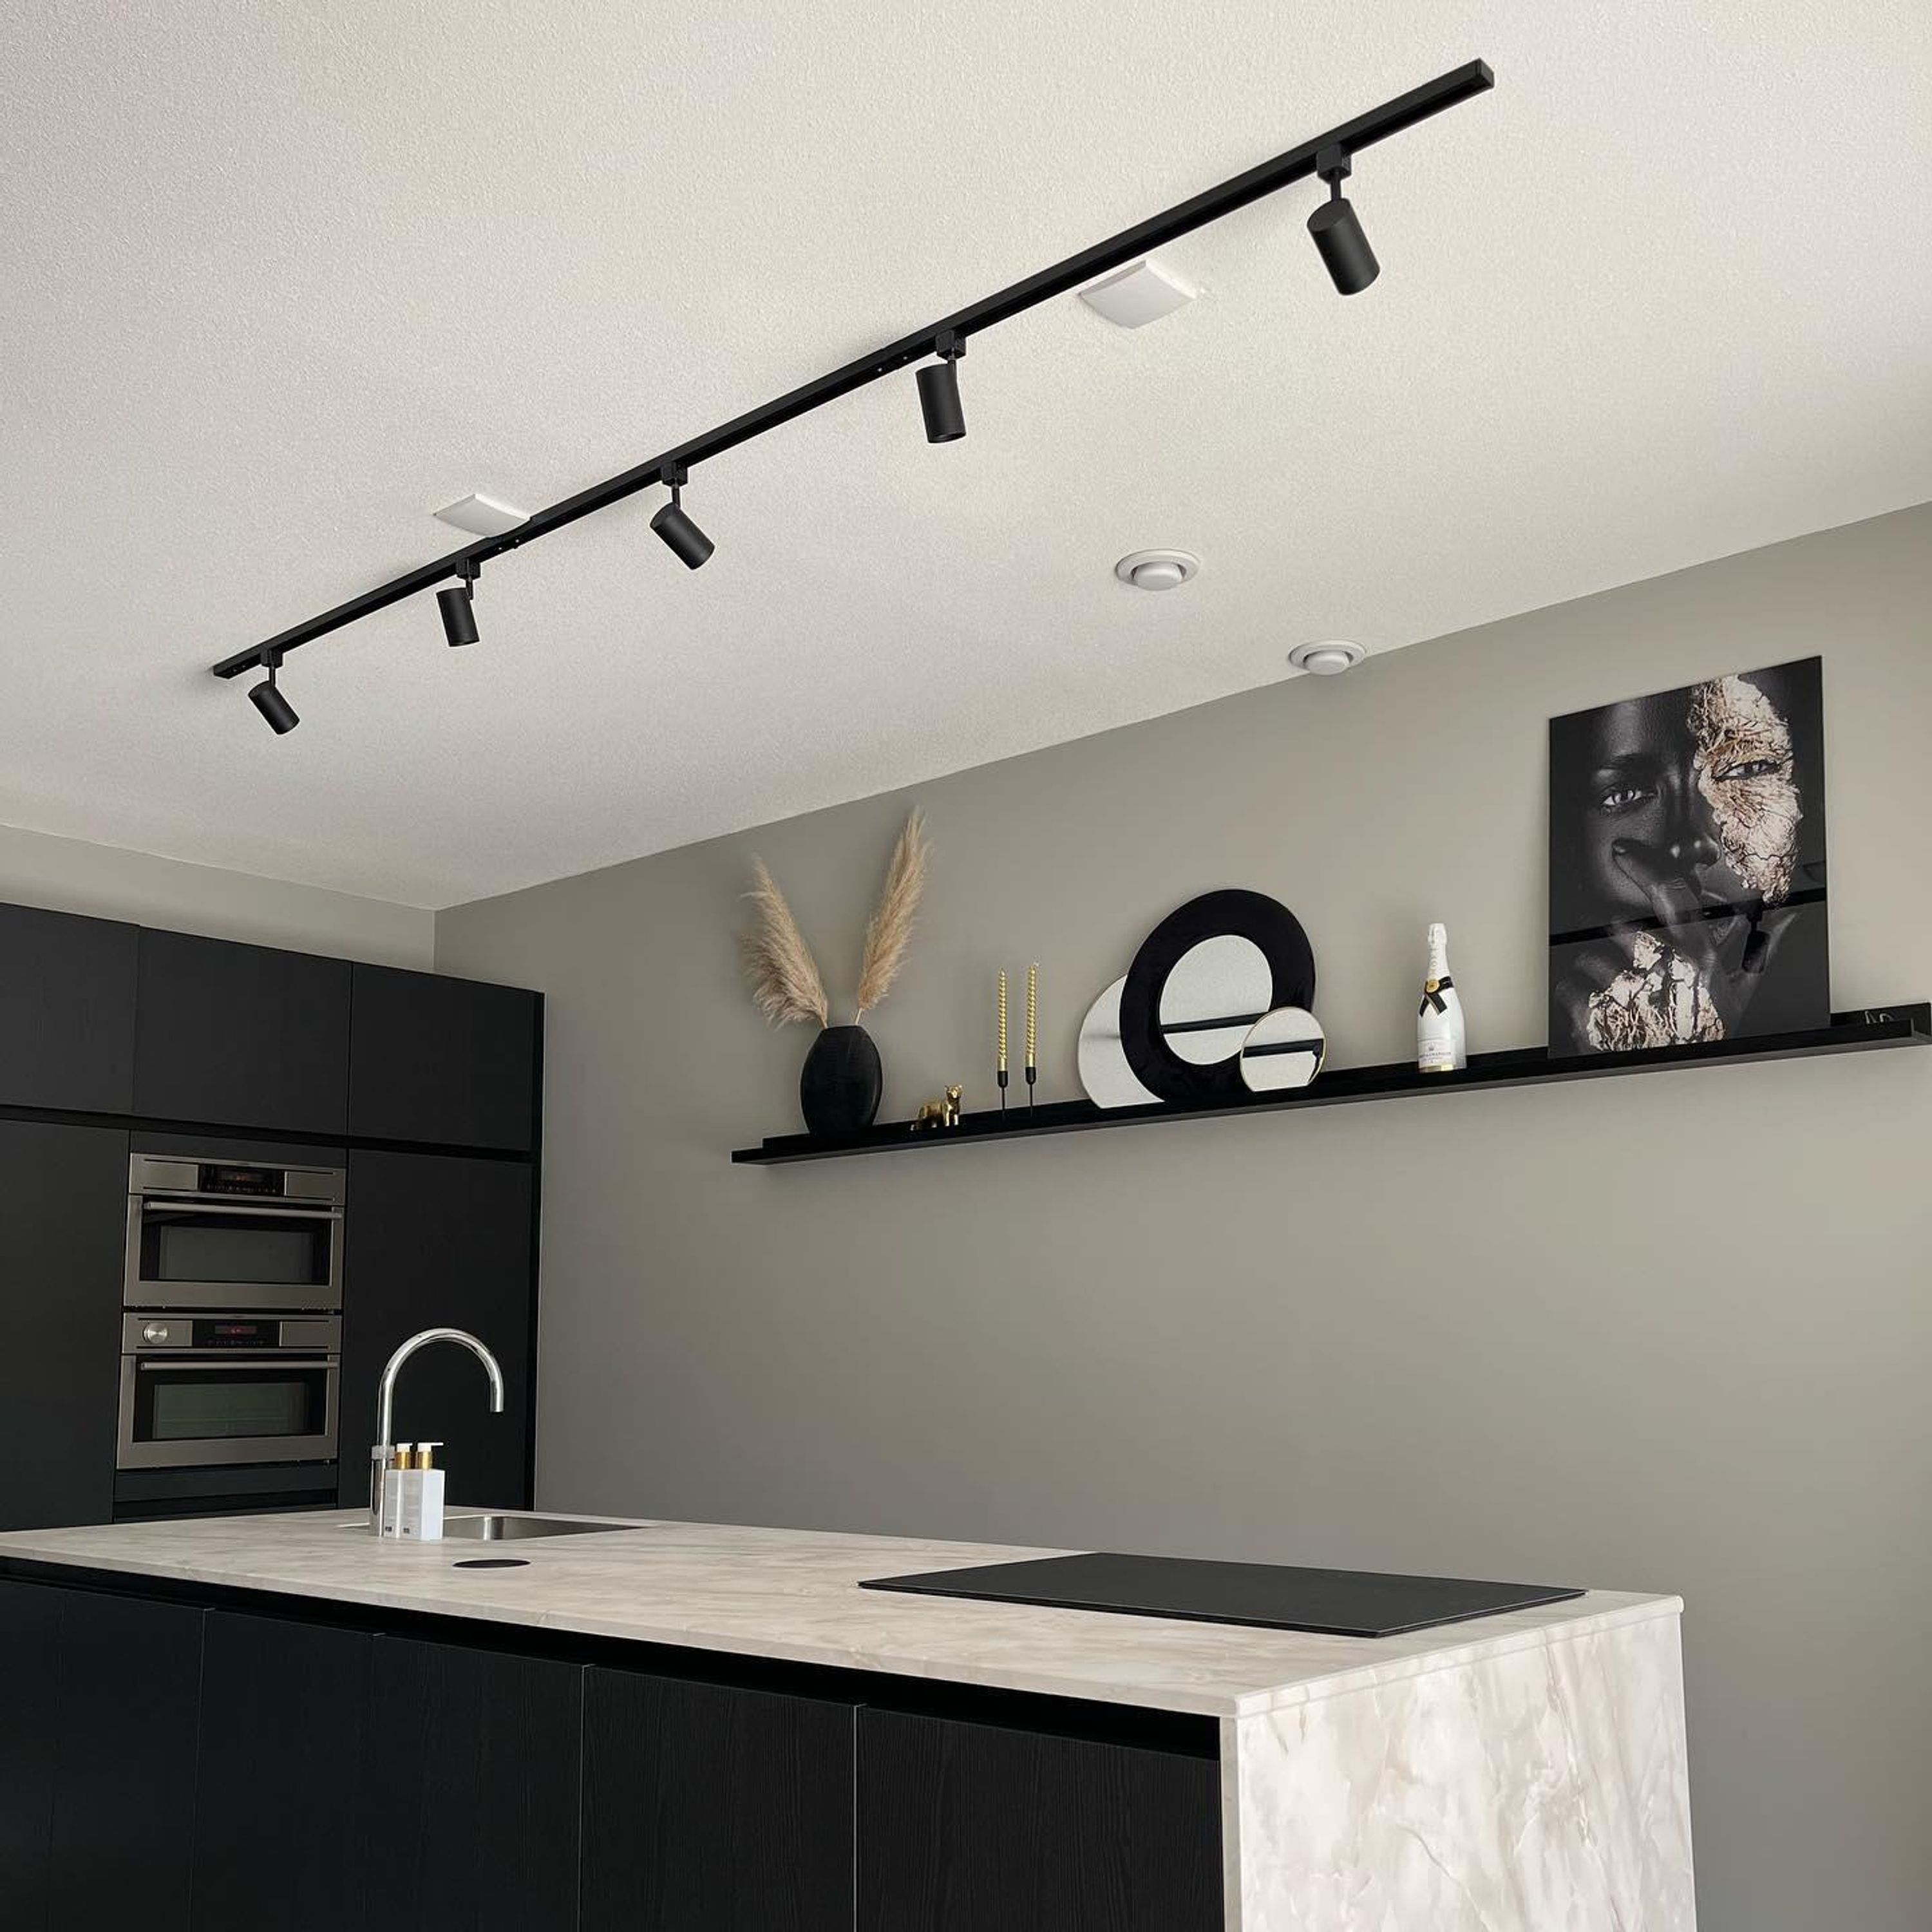

Modern Track Lighting System with 5 Spotlights Black 1-Phase - Iconic Jeana
Special Price
€93.95
RRP:
€175.00
As low as
€87.37
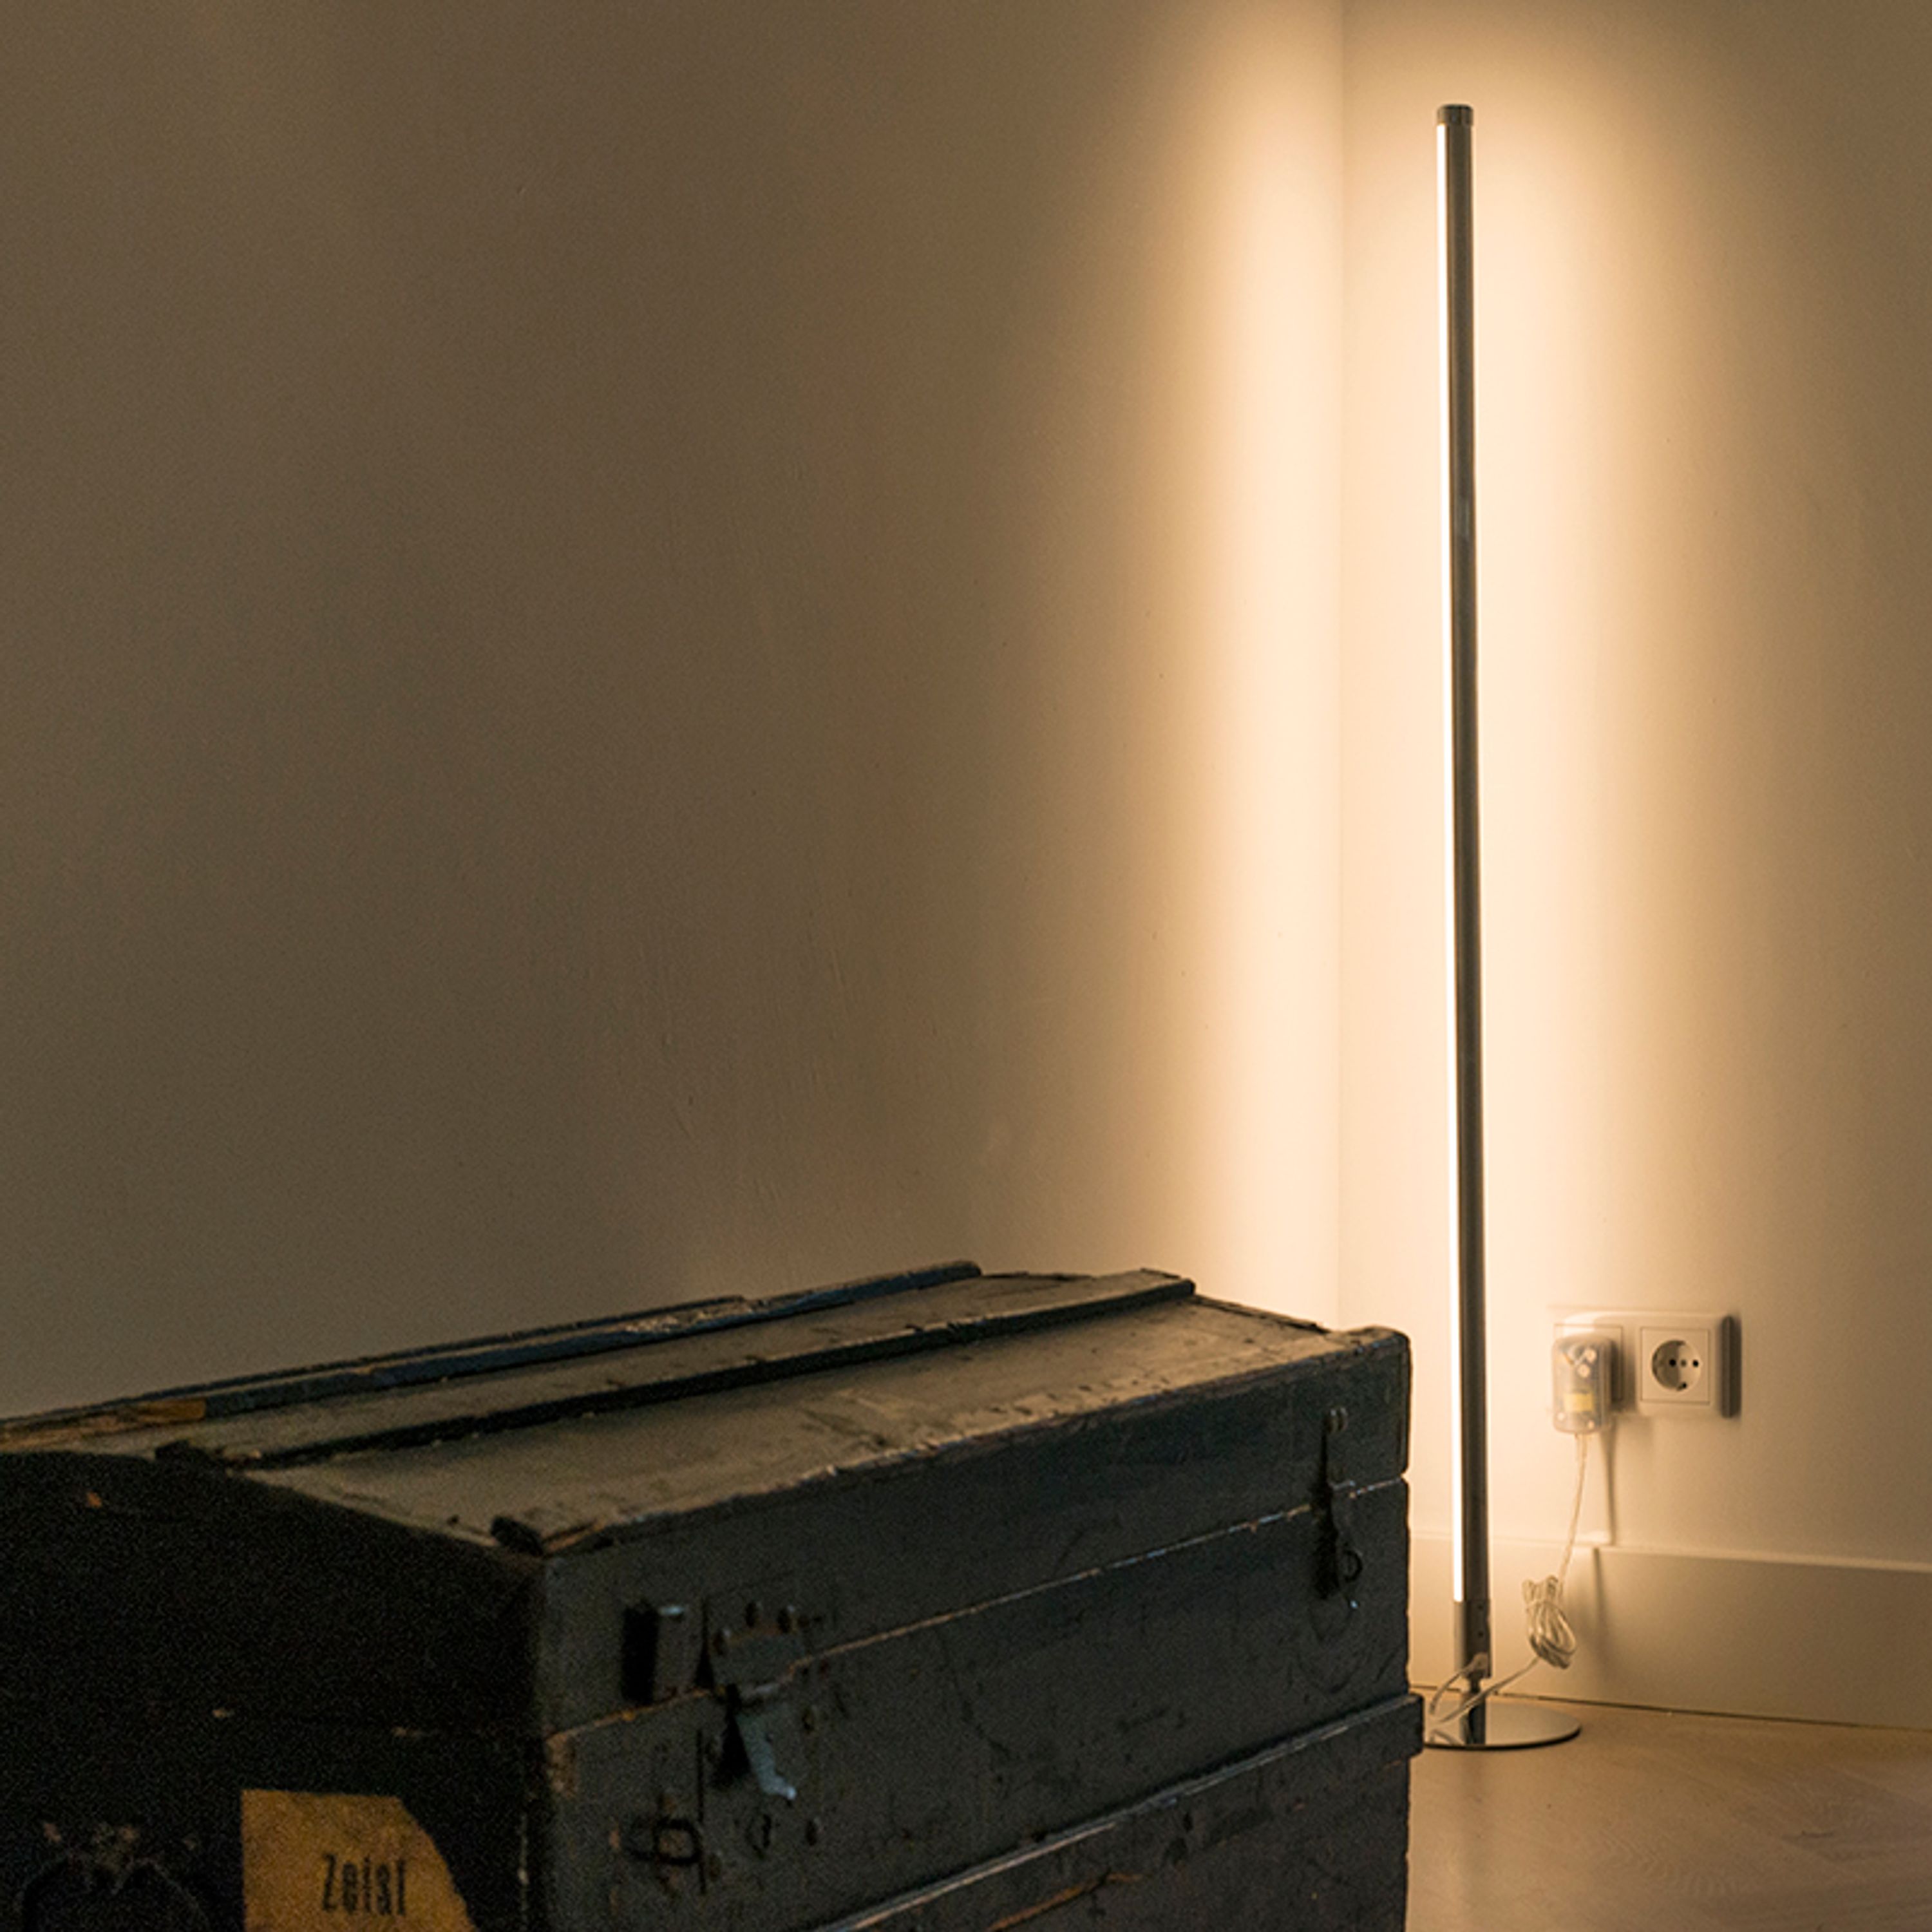
Modern Floor Lamp Chrome Incl. LED 3-Step Dimmable - Line-up
Special Price
€59.95
RRP:
€135.00
Wi-Fi lights
First of all, check which socket is suitable for the lamp. In most cases this will be an E27 socket, but it is wise to look at this carefully first. There are also E14 and GU10 smart bulbs.
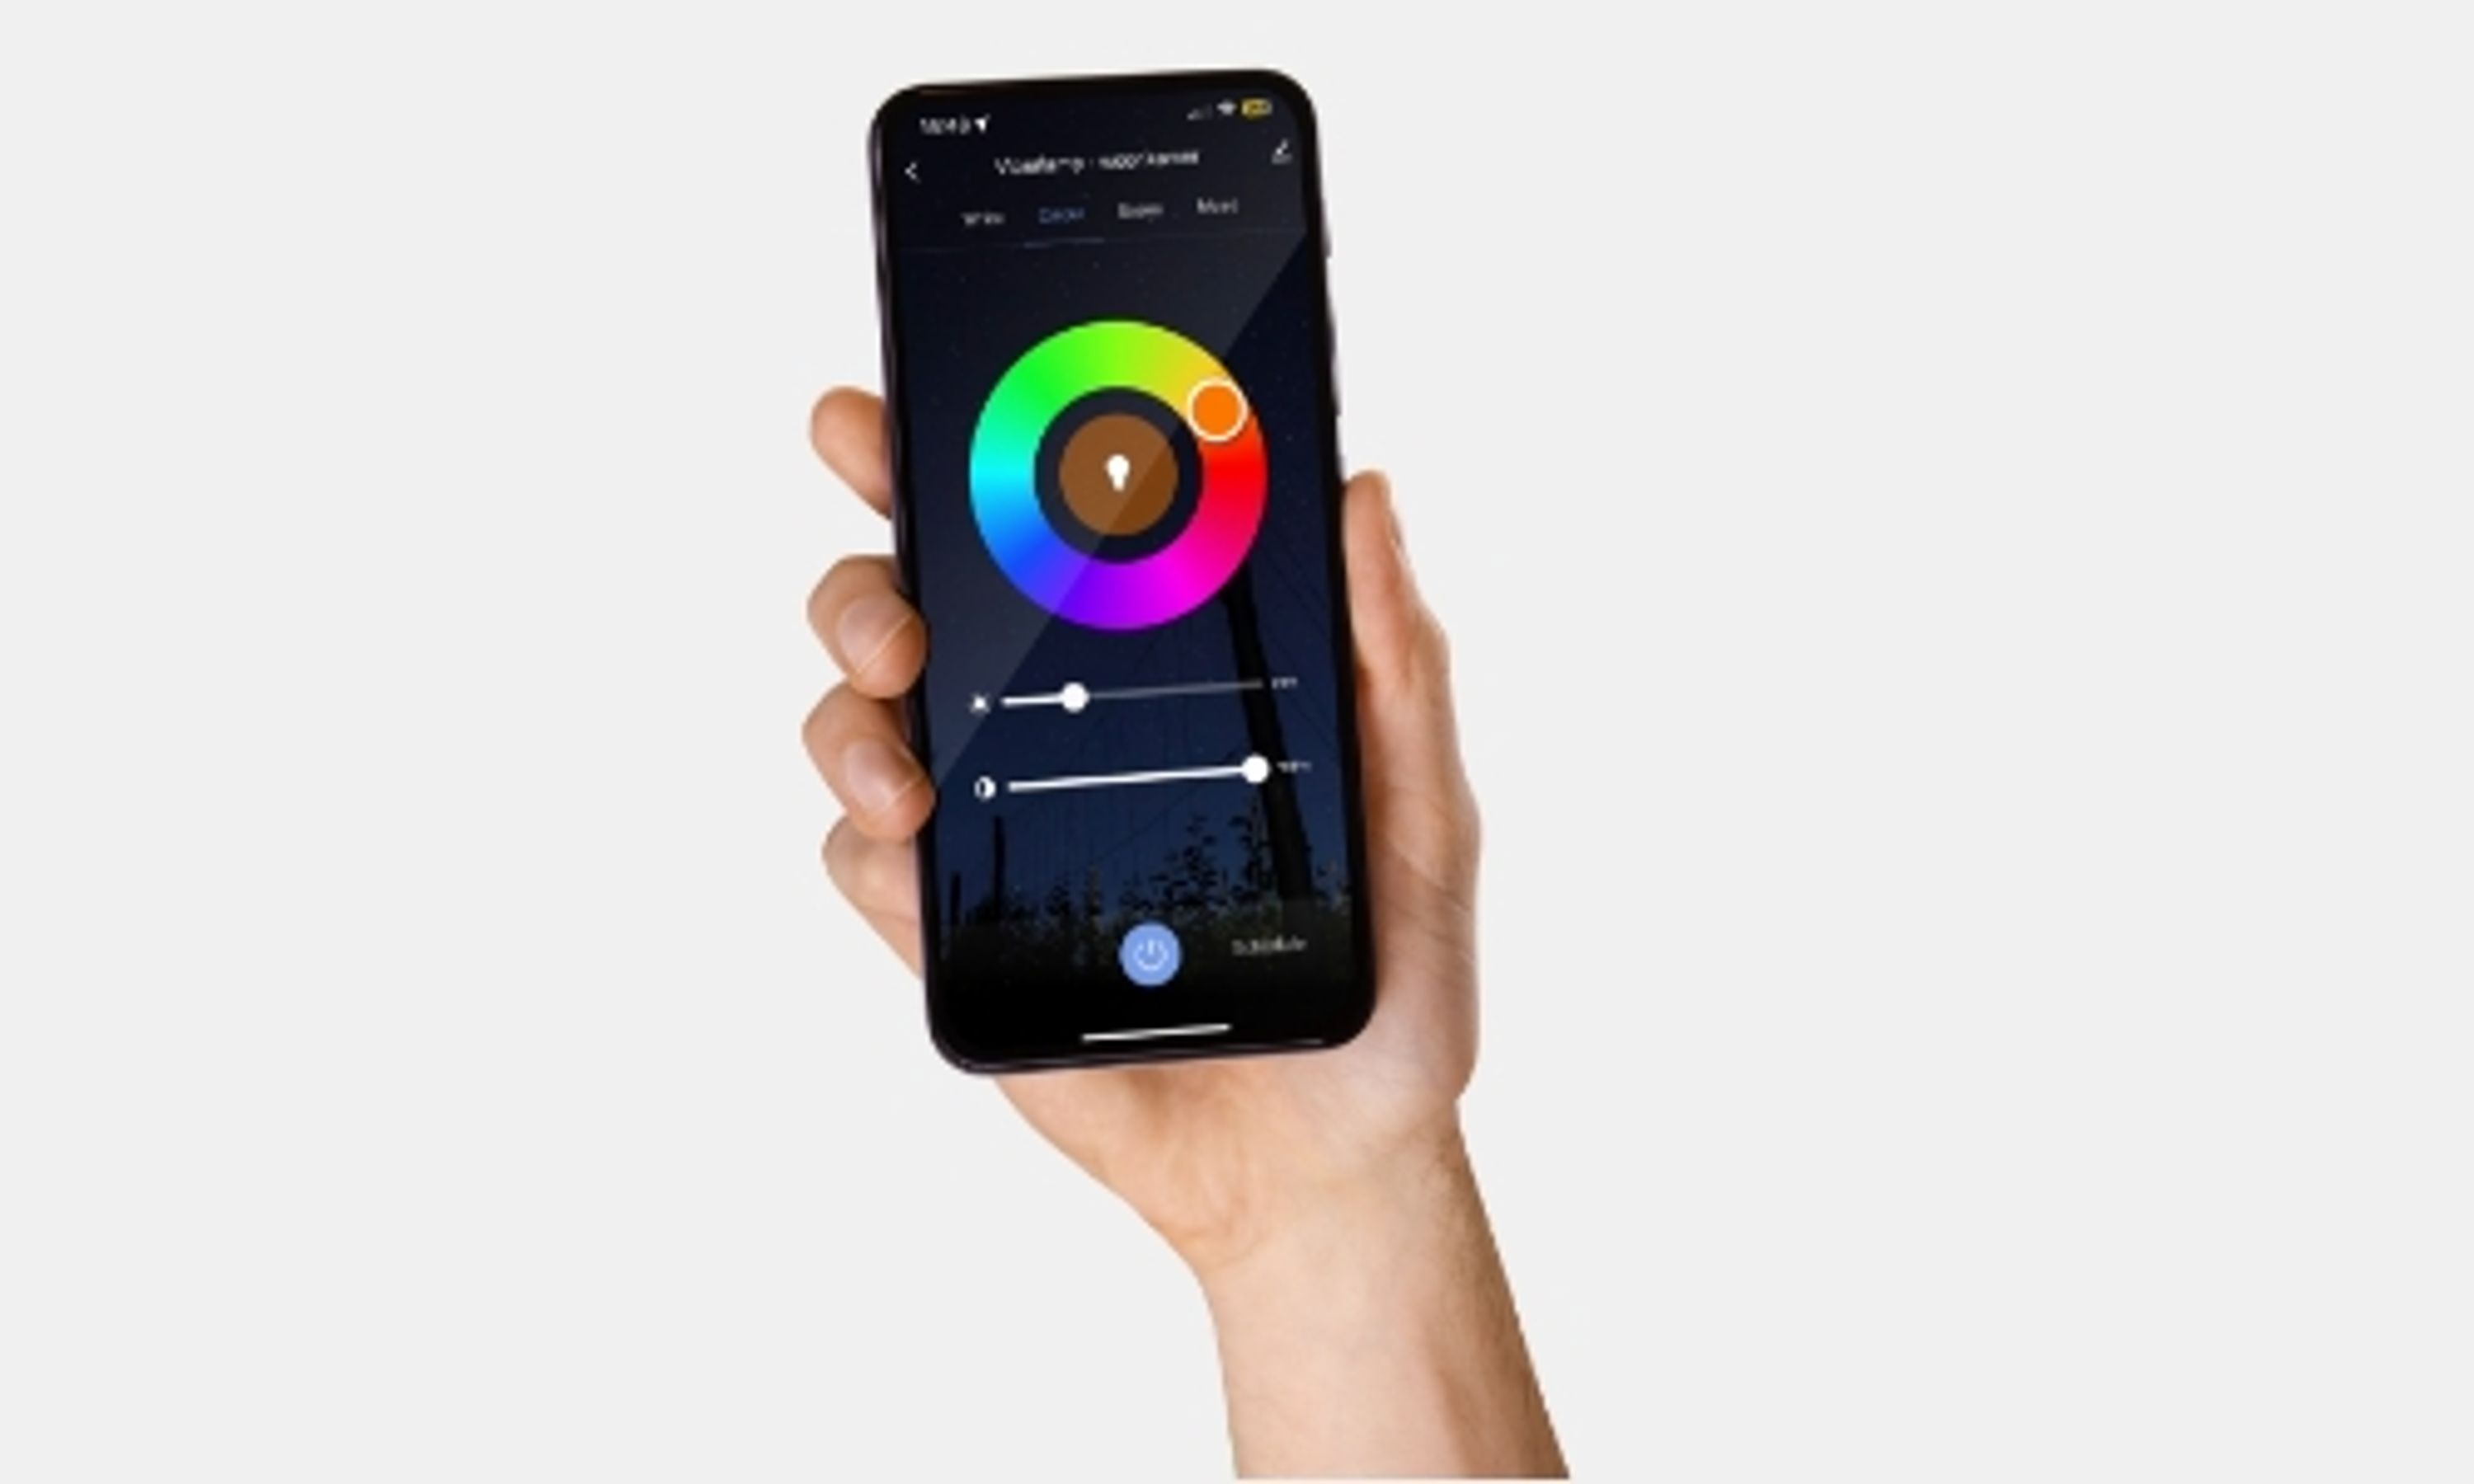
Once you have purchased a suitable light source, it is wise to first download the corresponding app. In the case of Wi-Fi lamps, this is a Tuya app, such as the LUUMR app. Once the app is installed on your smart device and you are connected to the Wi-Fi, you can start pairing your lamps. Screw the new light source into the lamp. It will then start blinking. This means it is looking for a Wi-Fi signal to connect. From this point, open the LUUMR app and select the item you want to connect. The product will appear directly in the app to add. Press connect and after a few seconds your lamp should be connected!
Here the process explained step by step:
- Step 1: Know what socket is needed for your lamp
- Step 2: Download the corresponding app (found on the package)
- Step 3: Make sure your smartphone is connected to the Wi-Fi network
- Step 4: Screw the bulb into the socket; it will then flash
- Step 5: Open the app and select the item you want to connect. The item will appear directly in the app to add
- Step 6: Follow the steps in the app
After adding the smart bulbs, it is possible to group them and link them together. You do this by selecting the lamps in the app - hold them down to select - and then pressing ''group''. Once this is done, you can adjust all the bulbs that are in a group at the same time-color, turn off and on, and dim!
Unable to pair your smart device? If the lights or devices still do not connect after resetting, check if you are connected to a 2.4 GHz network. If so, the router may have too many devices connected, especially if there are more than 20. In that case, it's smart to buy a Wi-Fi amplifier. If the problem is related to the router's settings, call your Internet service provider for help and more information.
Please accept marketing cookies to watch this video.
Bluetooth
As with Wi-Fi lamps, it's important to start by choosing the right fitting for your Bluetooth lamp. Generally, the E27 socket is often used, but it is always smart to check the specifications before purchasing a lamp.
Once you have the appropriate Bluetooth lamp in your home? Then download the app specific to the Bluetooth lamp you bought. This app can often be found on the packaging or manual. Then make sure the Bluetooth feature on your smartphone or tablet is enabled before you begin pairing. Place the Bluetooth lamp in the socket and watch for the flashing signal. This indicates that the lamp is ready to connect to Bluetooth. Launch the app and choose the specific product you want to connect. In the app, the product should be immediately available to add to your network. Follow the steps in the app to successfully pair the Bluetooth lamp with your smart device. This may include entering a PIN or confirming the pairing.
Here the steps explained again in brief:
- Step 1: Research which socket you need for your lamp
- Step 2: Download the corresponding app
- Step 3: Turn on Bluetooth on your smart device
- Step 4: Screw the bulb into the socket
- Step 5: Open the app and select the item to connect.
- Step 6: Follow the instructions in the app
If you are having trouble pairing your smart bulbs, check that Bluetooth is enabled on your device. If the problem persists, consider the following steps:
- Make sure you are within range of the Bluetooth lamp
- Check that the Bluetooth lamp is in pairing mode (flashing signal)
- Refer to the lamp manual for specific troubleshooting
- If the problem persists, contact the manufacturer's customer service department
After successfully pairing the Bluetooth lamps, just like Wi-Fi lamps, you can create groups and control the lamps together. Select the lamps in the app, press and hold to select and use the grouping feature to adjust them together in such things as color, brightness, and on/off status.
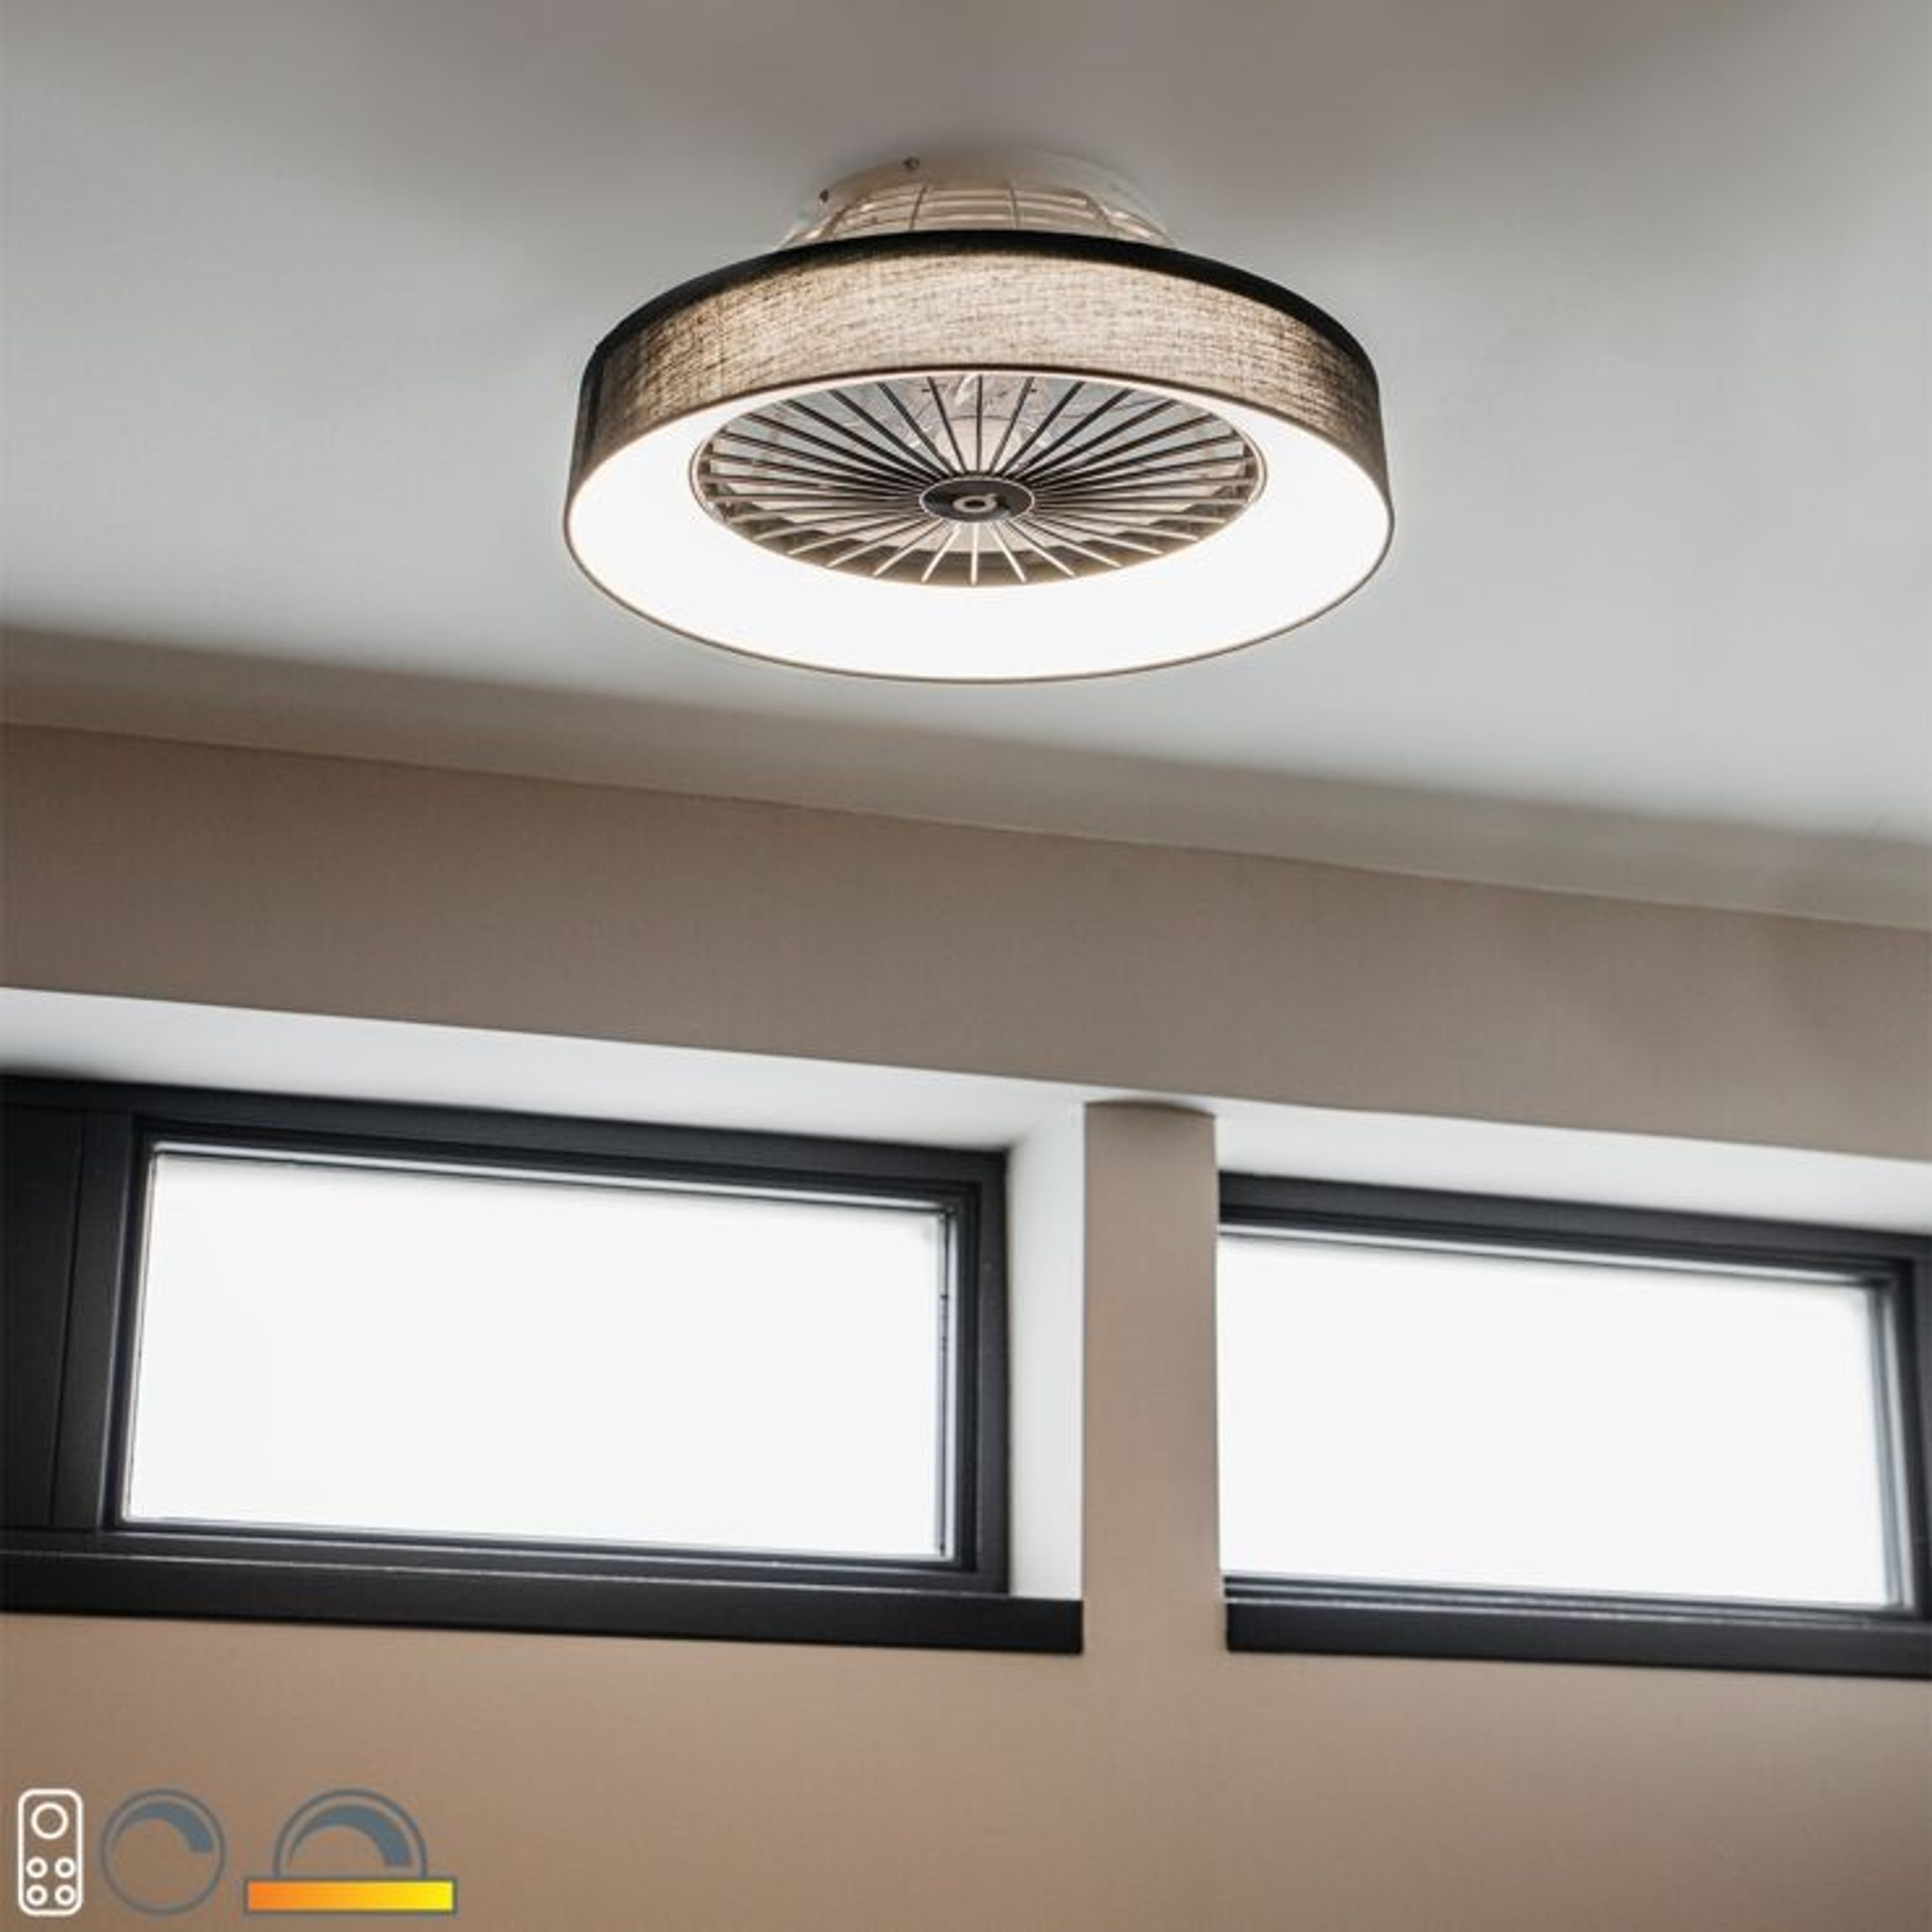
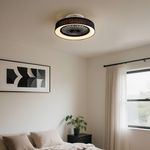
Ceiling Fan Black with Star Effect 47cm Incl. LED Dimmable with Remote Control - Emily
Special Price
€93.95
RRP:
€235.00
Z-Wave
Z-Wave is a wireless communication protocol specifically designed for reliable connections between smart devices in a local area network. It uses a mesh network, allowing devices to communicate with each other. It also widens the maximum distance between your phone and smart lights.
Z-Wave devices, including smart lights, require a central controller or gateway for effective connectivity. Make sure you have installed and properly connected the corresponding Z-Wave Controller or Gateway to your smart home network, following the manufacturer's instructions.
Then download the corresponding app on your phone or tablet. Place the Z-Wave lamps in the fittings Open the Z-Wave app. Follow the instructions in the app to add new devices to the Z-Wave network.
Infrared
Infrared is perhaps the easiest form of smart lighting. Simply screw your new light source into the socket and control it via the included remote control: When using infrared lights, keep in mind the direction of the remote control. The remote control must be pointed within sight range of the lamps.
Make sure the infrared lamps are positioned so that the remote control has an unobstructed view of the lamps for optimal operation.
Sometimes the lamps may still need to be paired with the remote control. Consult the corresponding manual or check the packaging to see how to do this. In most cases it is a matter of holding down the connect button while the lamp is searching for a signal.